

1. Create the Unreal Engine project
Open the Unreal Project Browser and create a new project with the following settings:- Template: Blank
- Project Defaults: Blueprint (not C++)
- Target Platform: Desktop
- Quality Preset: Maximum
- Starter Content: off (unchecked)
- Project Name: the name you want for your visual — for this tutorial,
MyFirstVisual
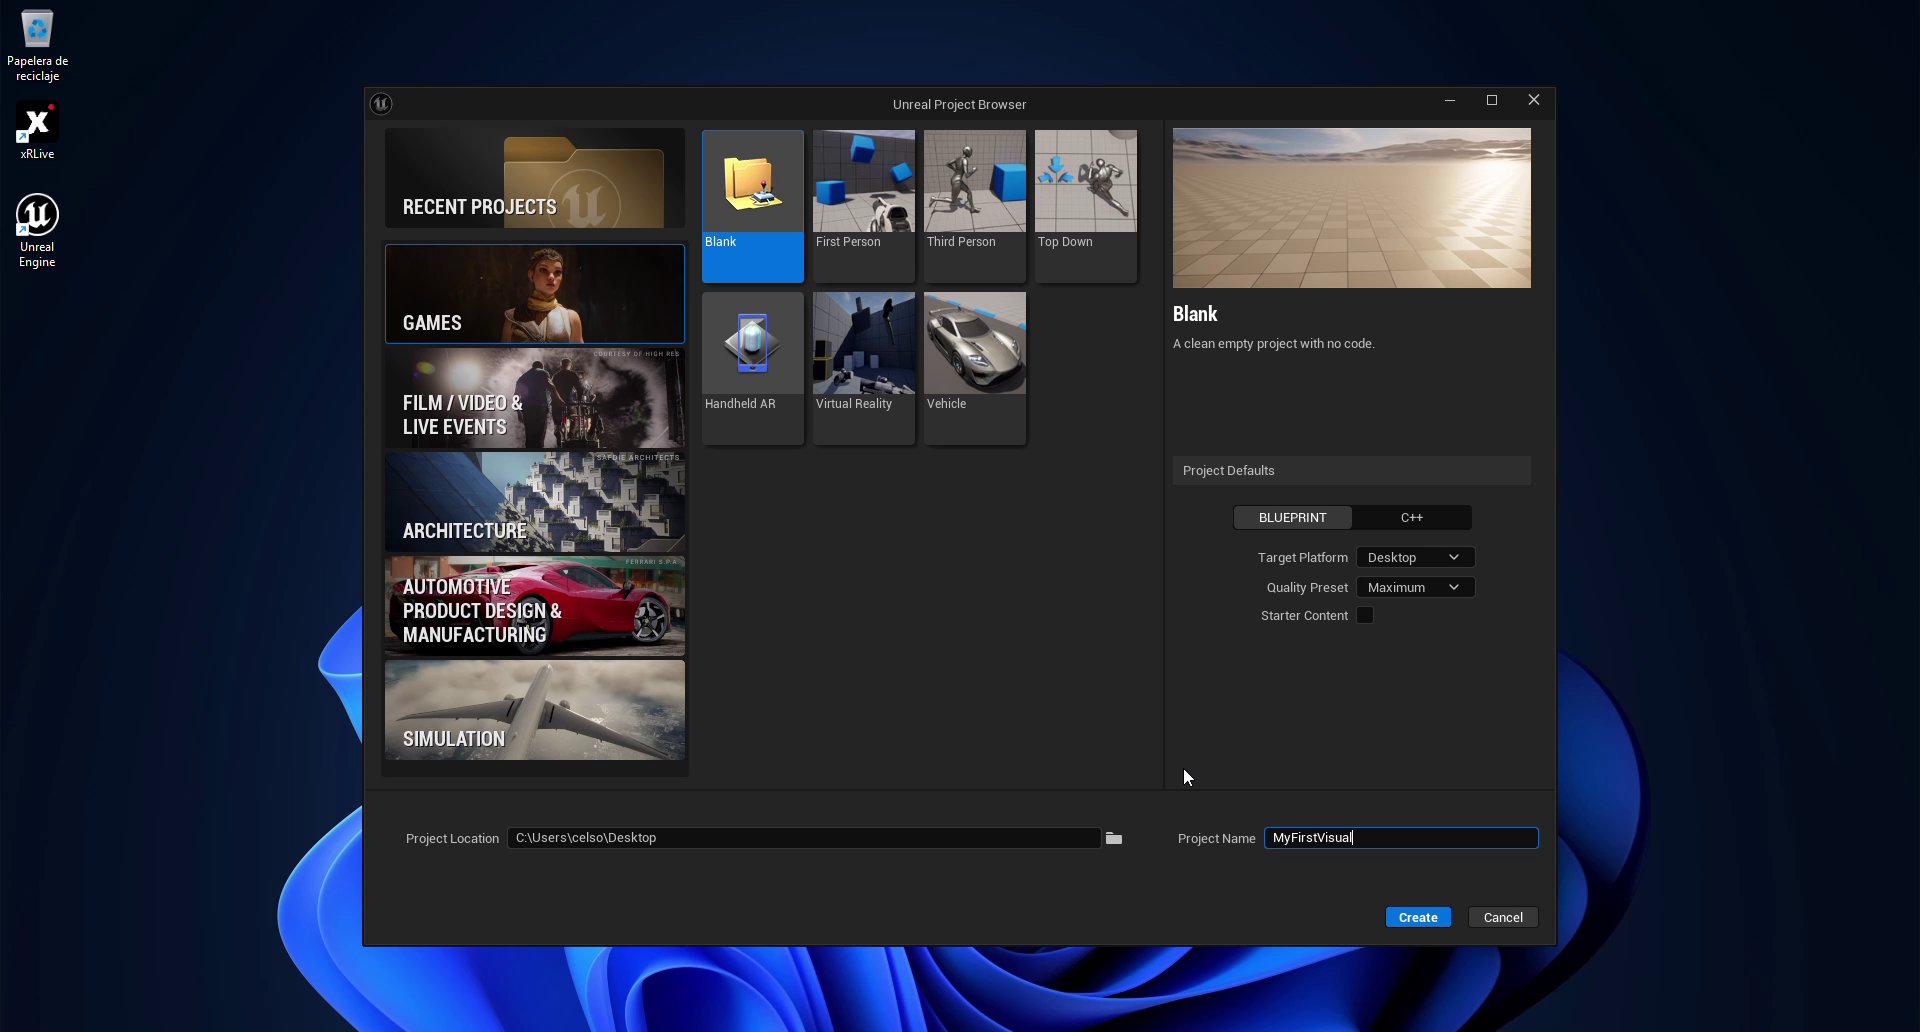
Unreal Project Browser — Blank template selected, project named MyFirstVisual
2. Save a map to the root Content folder
The.xrlive packaging pipeline requires at least one map to exist in the project’s root Content folder (not inside the plugin). This map does not need any content — it just needs to be saved there before packaging.
Go to File → Save Level As. In the dialog:
- Make sure the folder tree on the left is set to Content — the path at the bottom should read
/All/Game - Set the Name field to any name you like — the xRLive team uses
DefaultMapby convention, but you can also leave the name that Unreal suggests by default
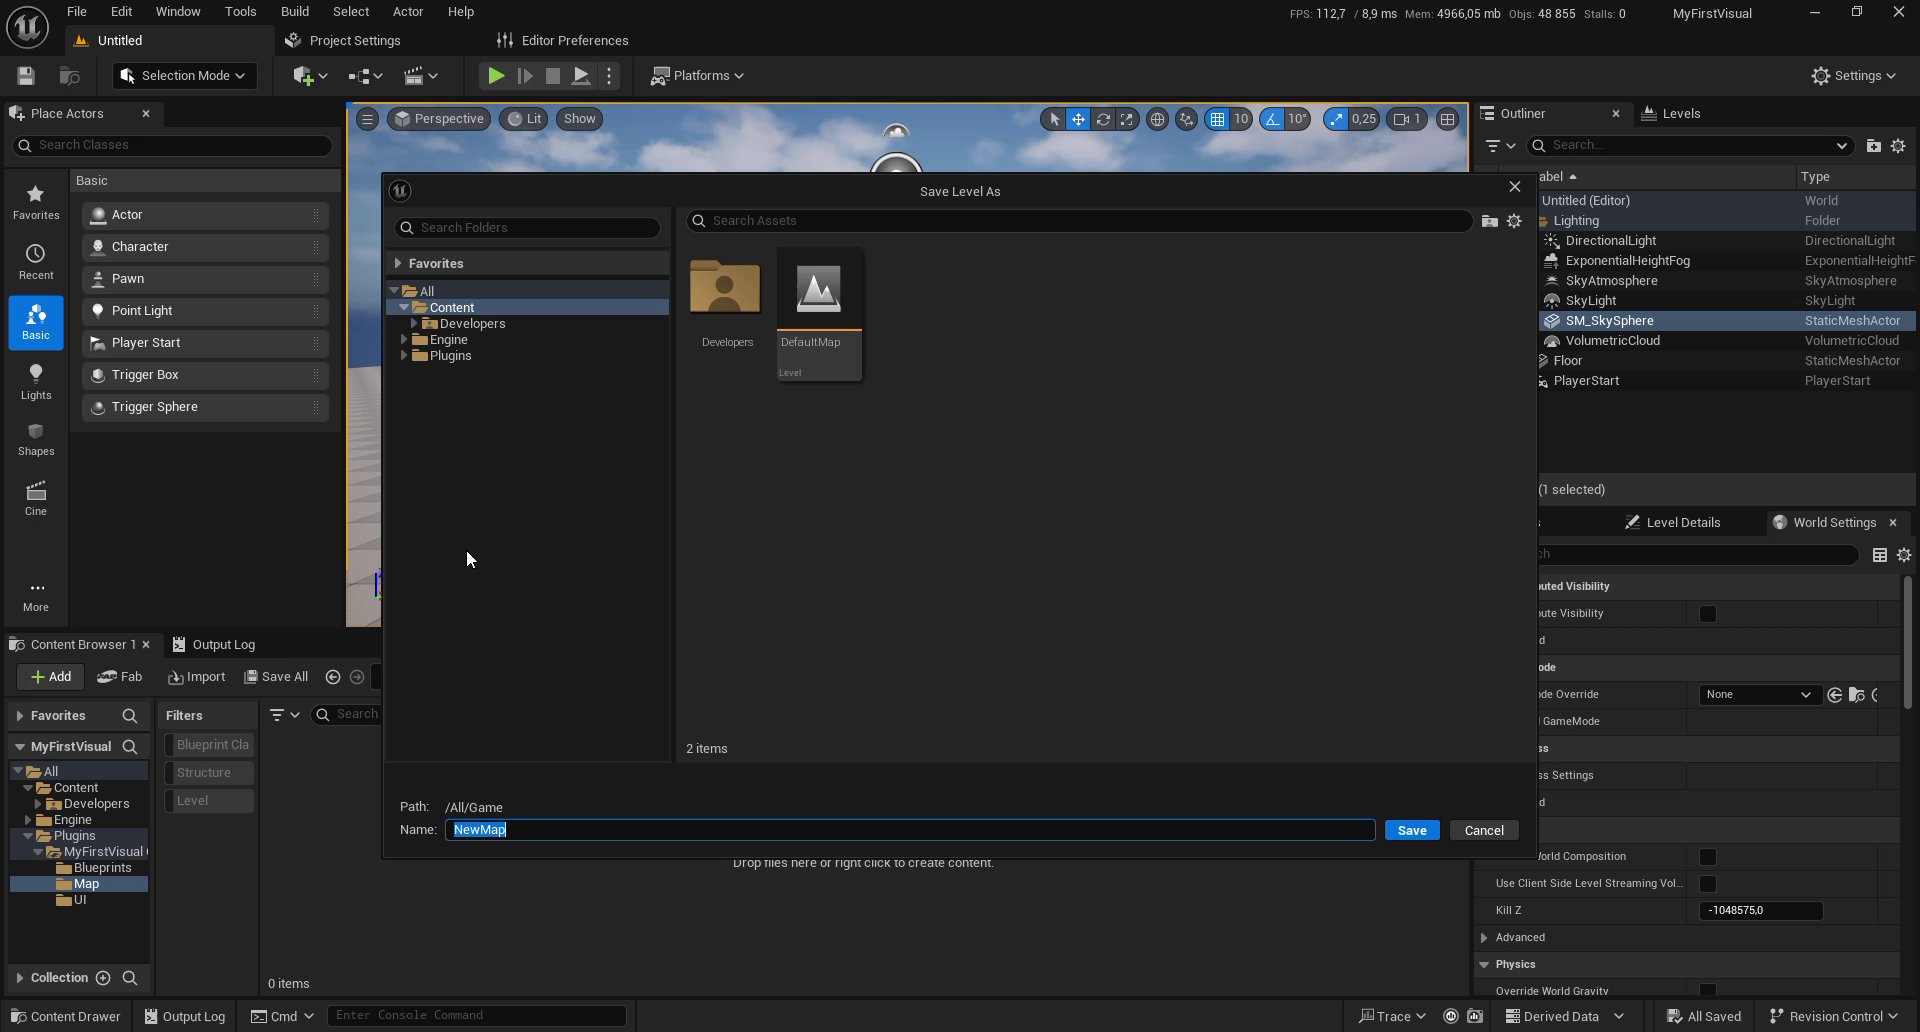
Save Level As — root Content folder selected, ready to save the build map
This map has no relation to your visual’s logic. It is only required by the packaging pipeline. You will not edit it at any point in the tutorial.
3. Create the plugin
Your visual’s content (Blueprints, maps, assets) lives inside a plugin, not in the project’s main Content folder. This is required by the xRLive pak packaging system. Open Edit → Plugins in the menu bar, then click + Add (or New Plugin). In the plugin creation dialog:- Template: Content Only
- Plugin Name: use the exact same name as your project —
MyFirstVisual - Leave all other fields at their defaults
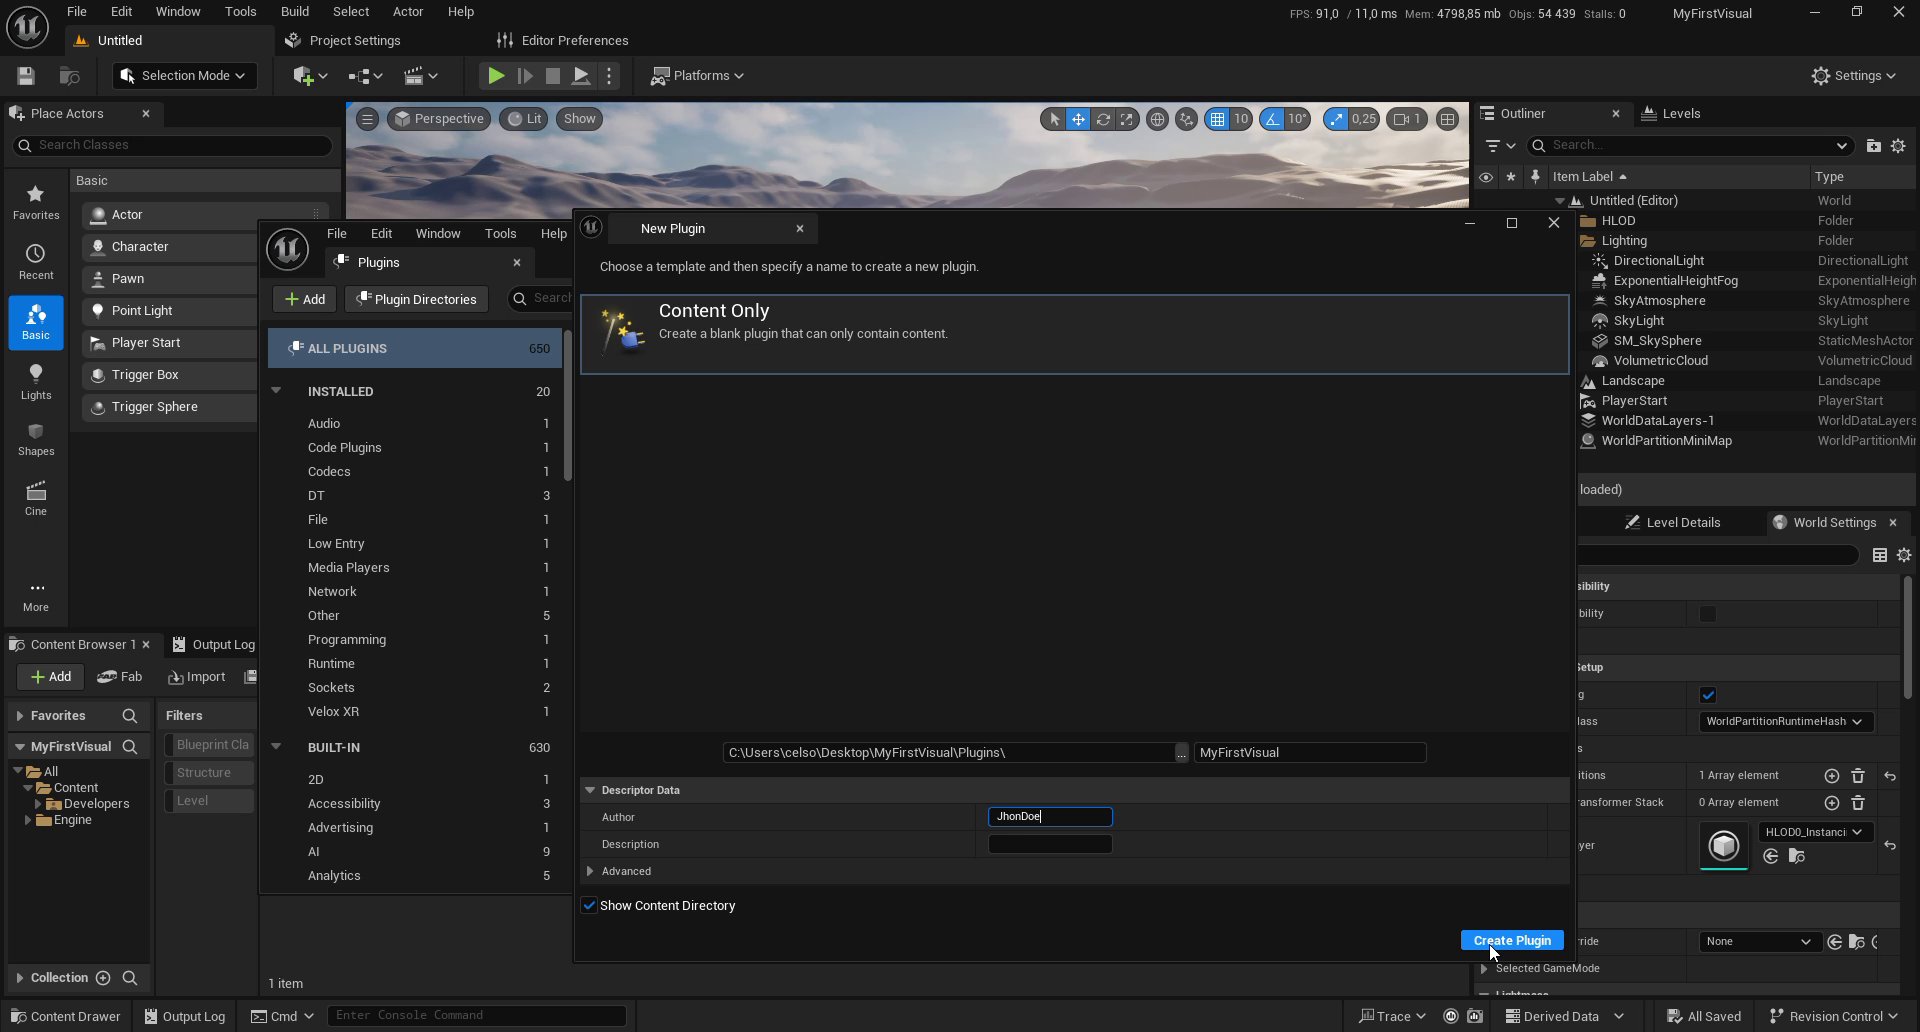
New Plugin dialog — Content Only template, plugin named MyFirstVisual
Blueprints, Map, and UI.
The only folder that must exist is
Map — xRLive requires it to locate the main map. All other folders are optional. That said, organizing your content into folders by asset type is strongly recommended as your visual grows:4. Save the main map
The editor opens with an untitled default map. You need to save it with the correct name and inside the plugin’sMap folder.
Go to File → Save Level As. In the dialog:
- In the folder tree on the left, navigate to Plugins → MyFirstVisual Content → Map
- Confirm the Path field reads
/All/Plugins/MyFirstVisual/Map - Set the Name field to
MyFirstVisual(same name as the project and plugin)
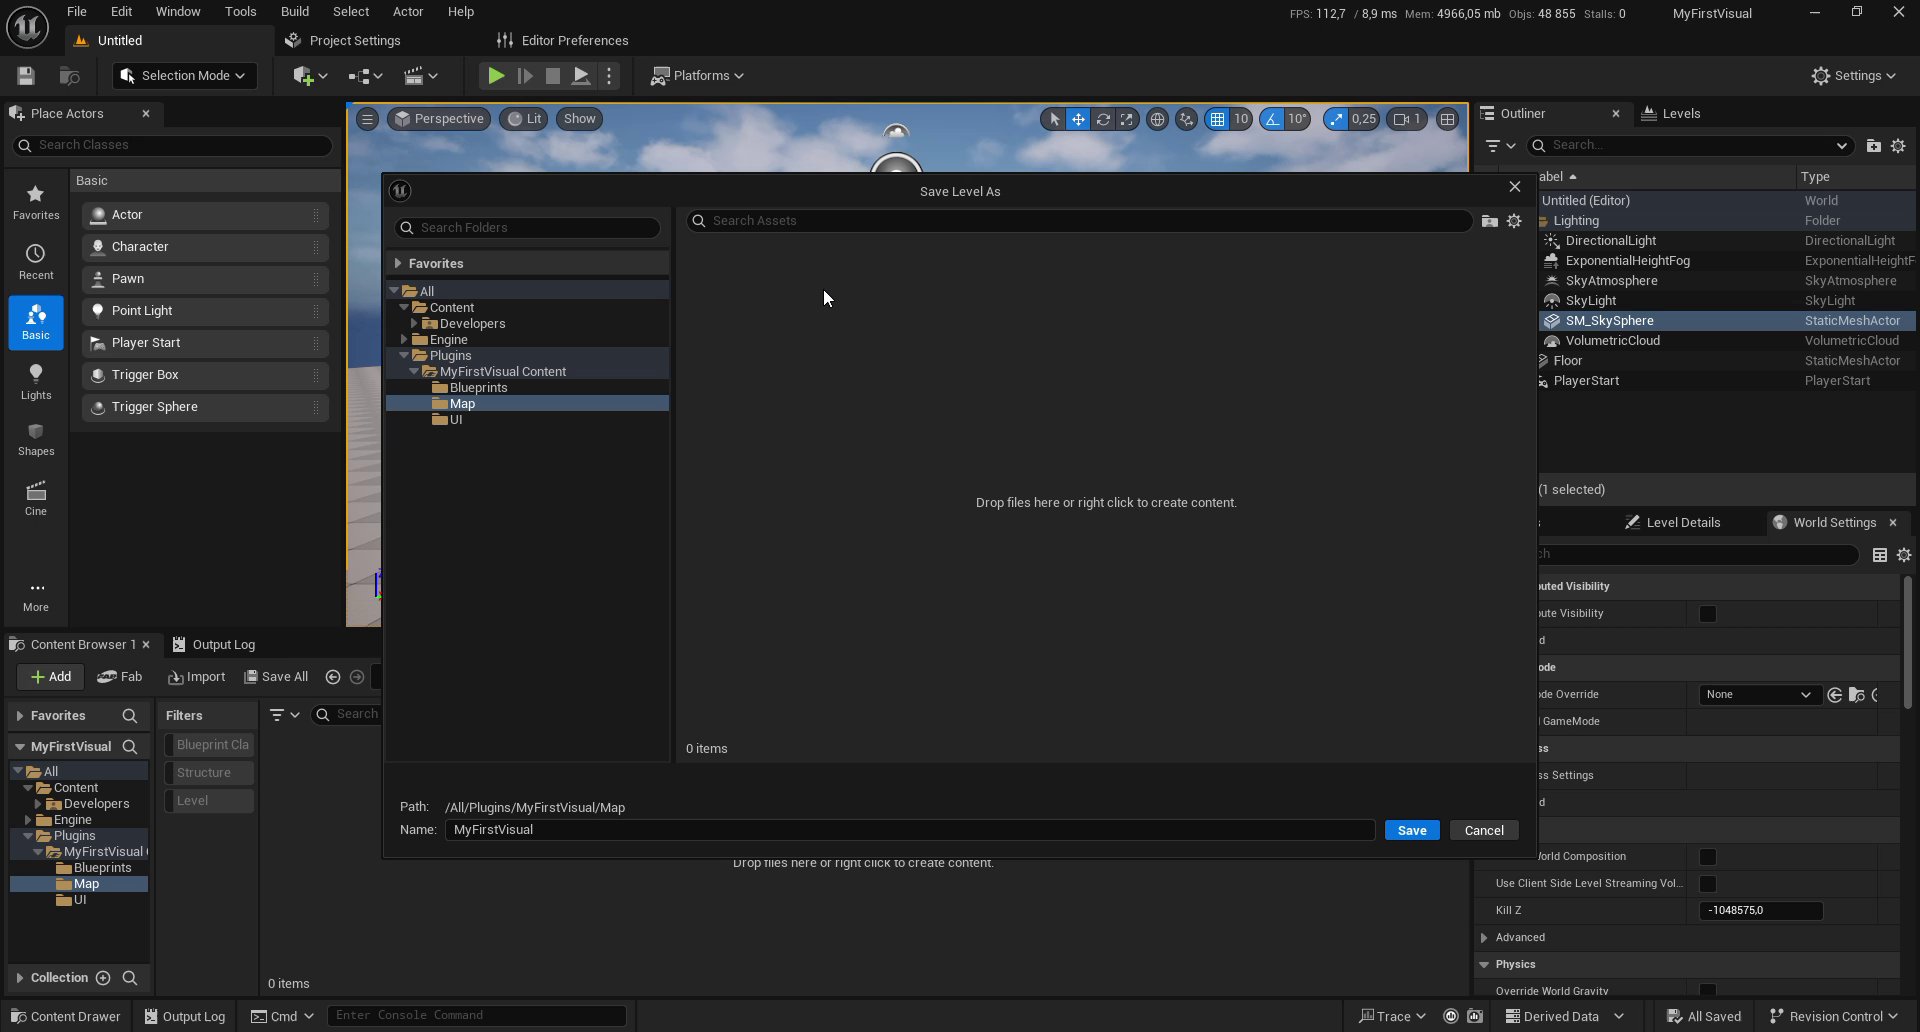
Save Level As — navigated to the Map folder inside the plugin, name set to MyFirstVisual
The Map folder must exist inside your plugin — Unreal creates it automatically when you use the Content Only plugin template. The main map (with the same name as the project) must be inside this folder. Everything else in the plugin folder structure is optional, but keeping
Blueprints, Map, and UI as separate folders is recommended.Plugins > MyFirstVisual Content > Map.
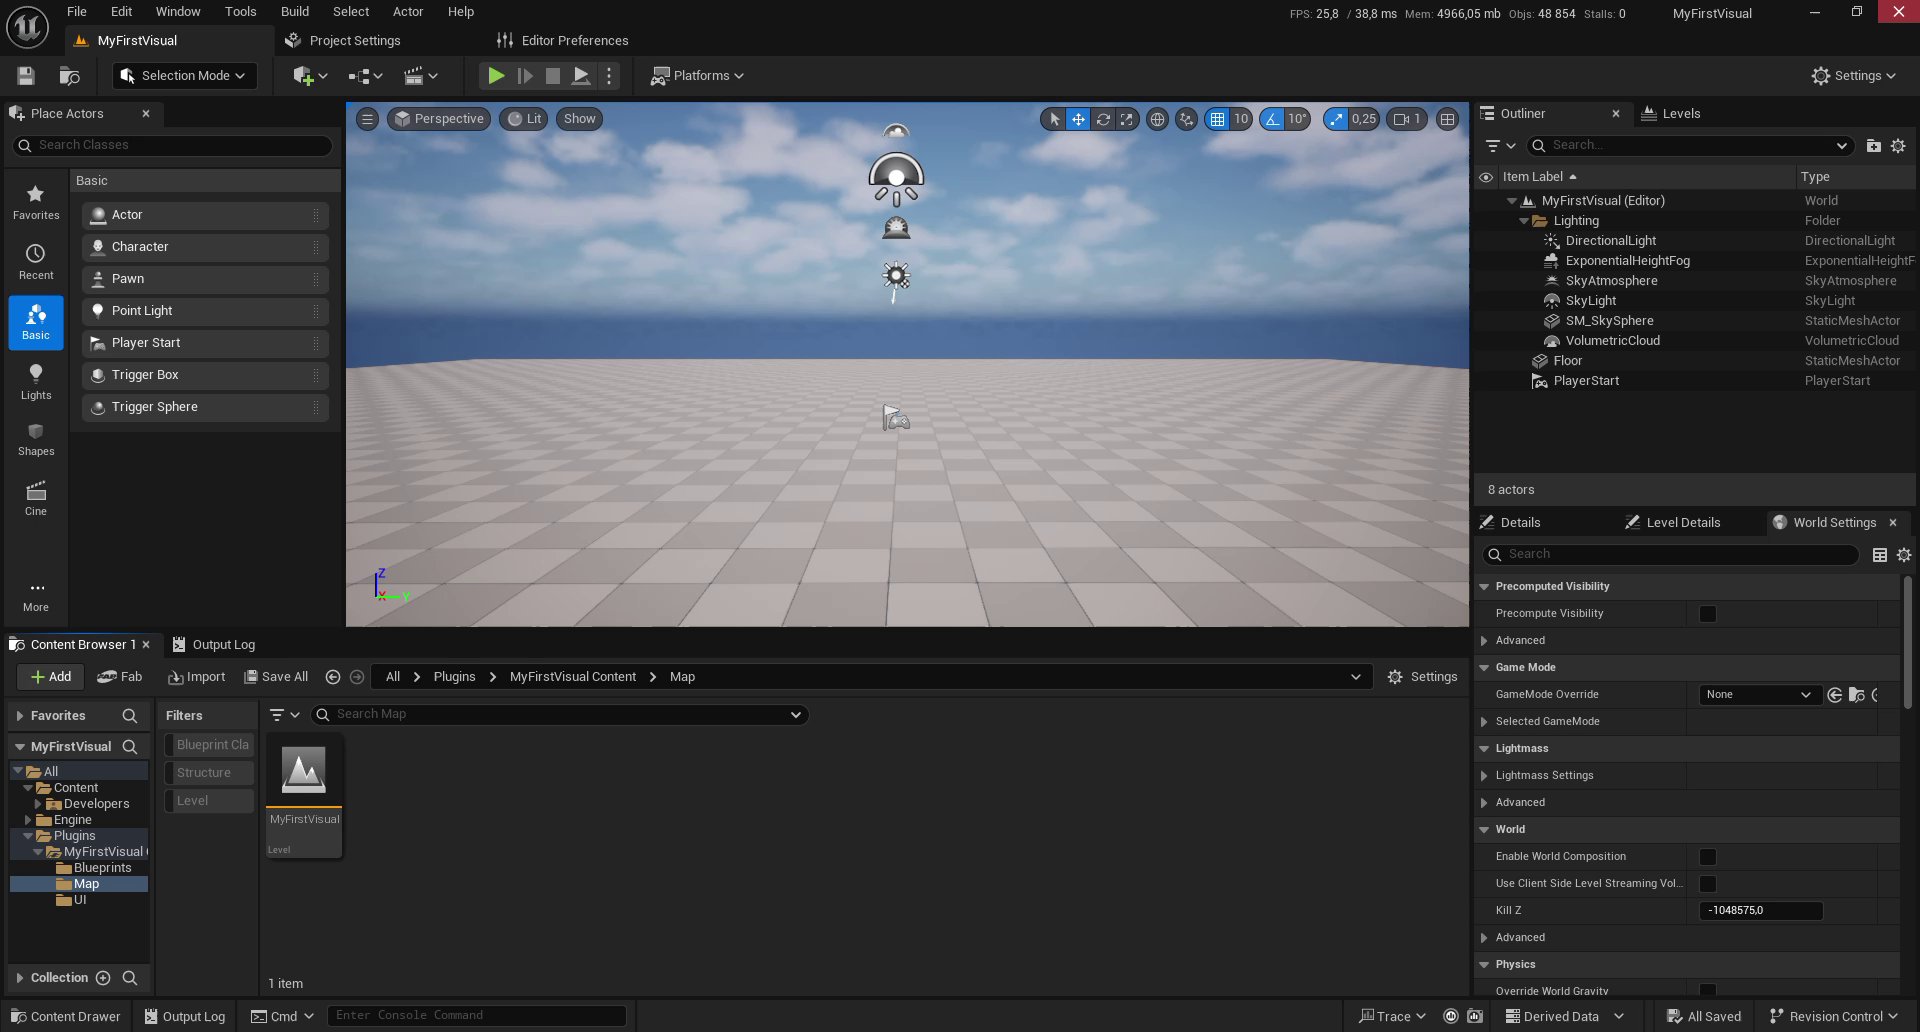
Content Browser after saving — MyFirstVisual map inside the Map folder
5. Add the xRLive SDK to the project
Close Unreal Engine. In Windows Explorer, navigate to your project folder (for example,C:\Users\YourName\Desktop\MyFirstVisual). Open the Plugins folder — it currently contains only the MyFirstVisual plugin folder you just created.
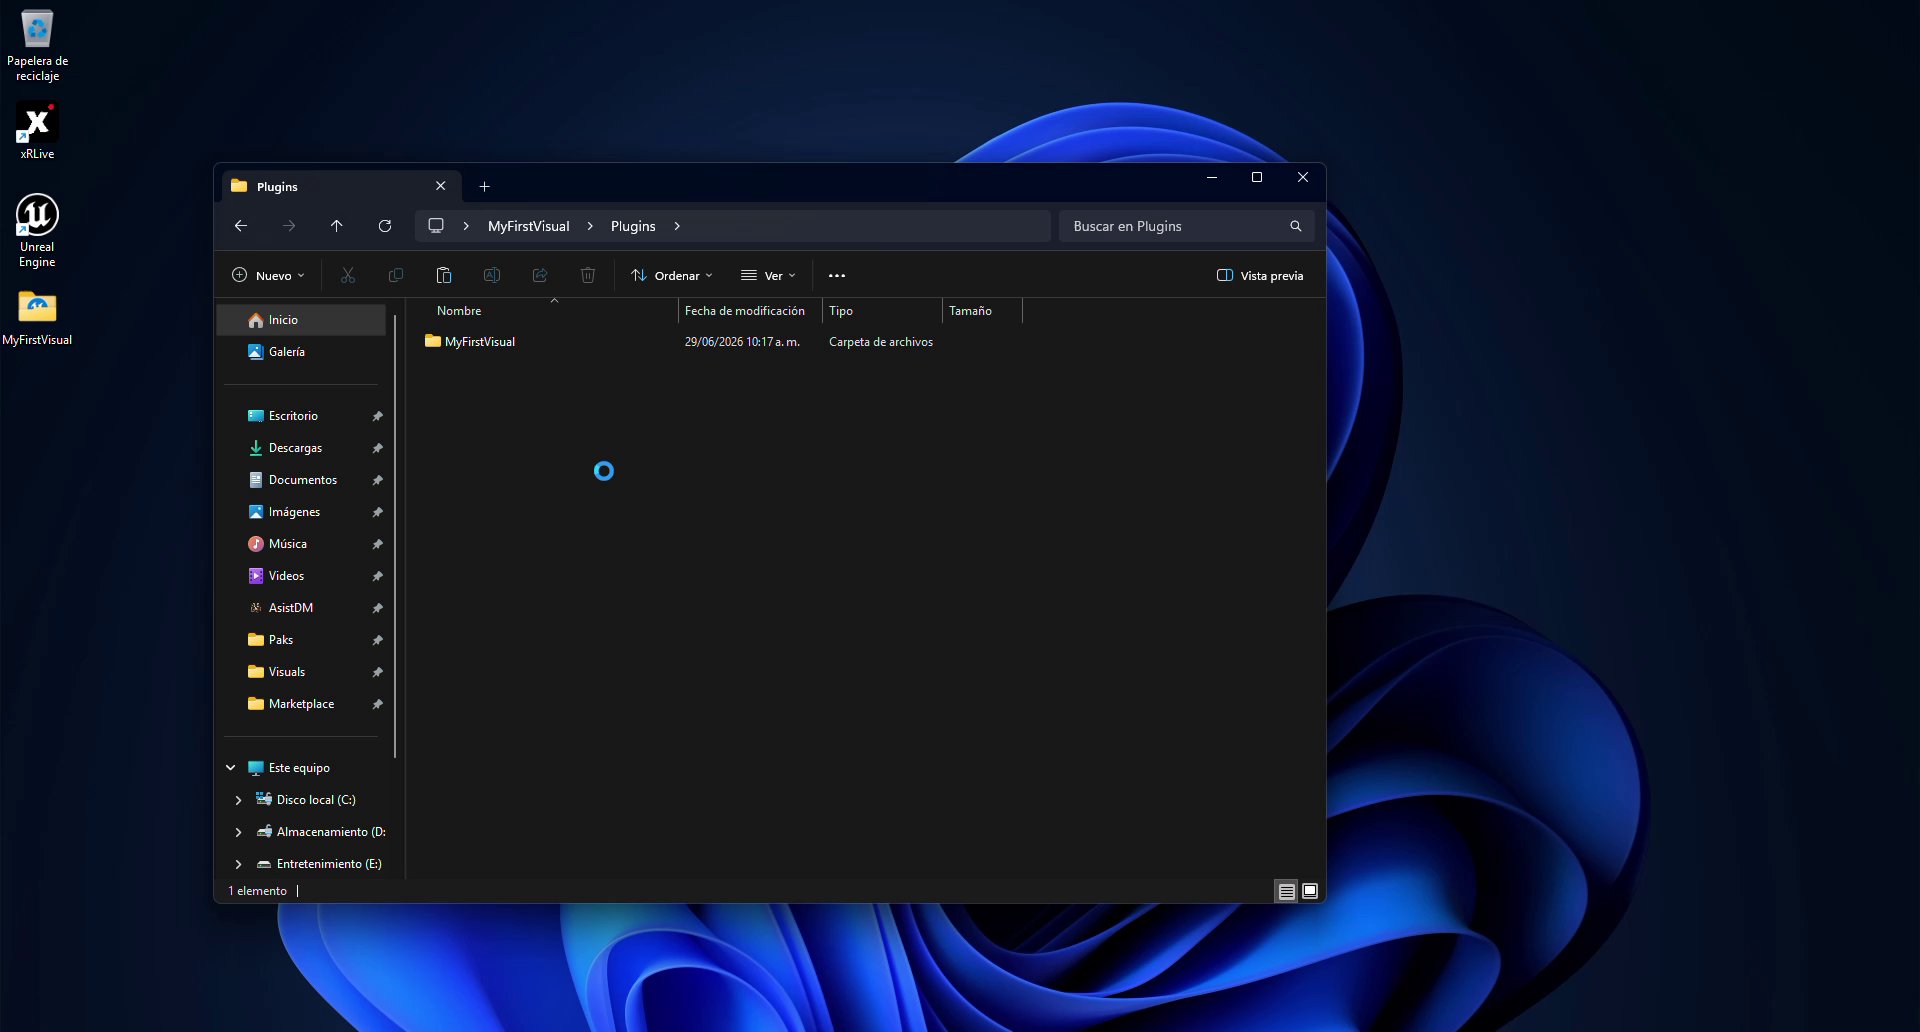
Plugins folder before adding the SDK — only the MyFirstVisual plugin folder
Plugins directory. After the copy completes, the folder should contain exactly two entries: MyFirstVisual and xrliveSDK.
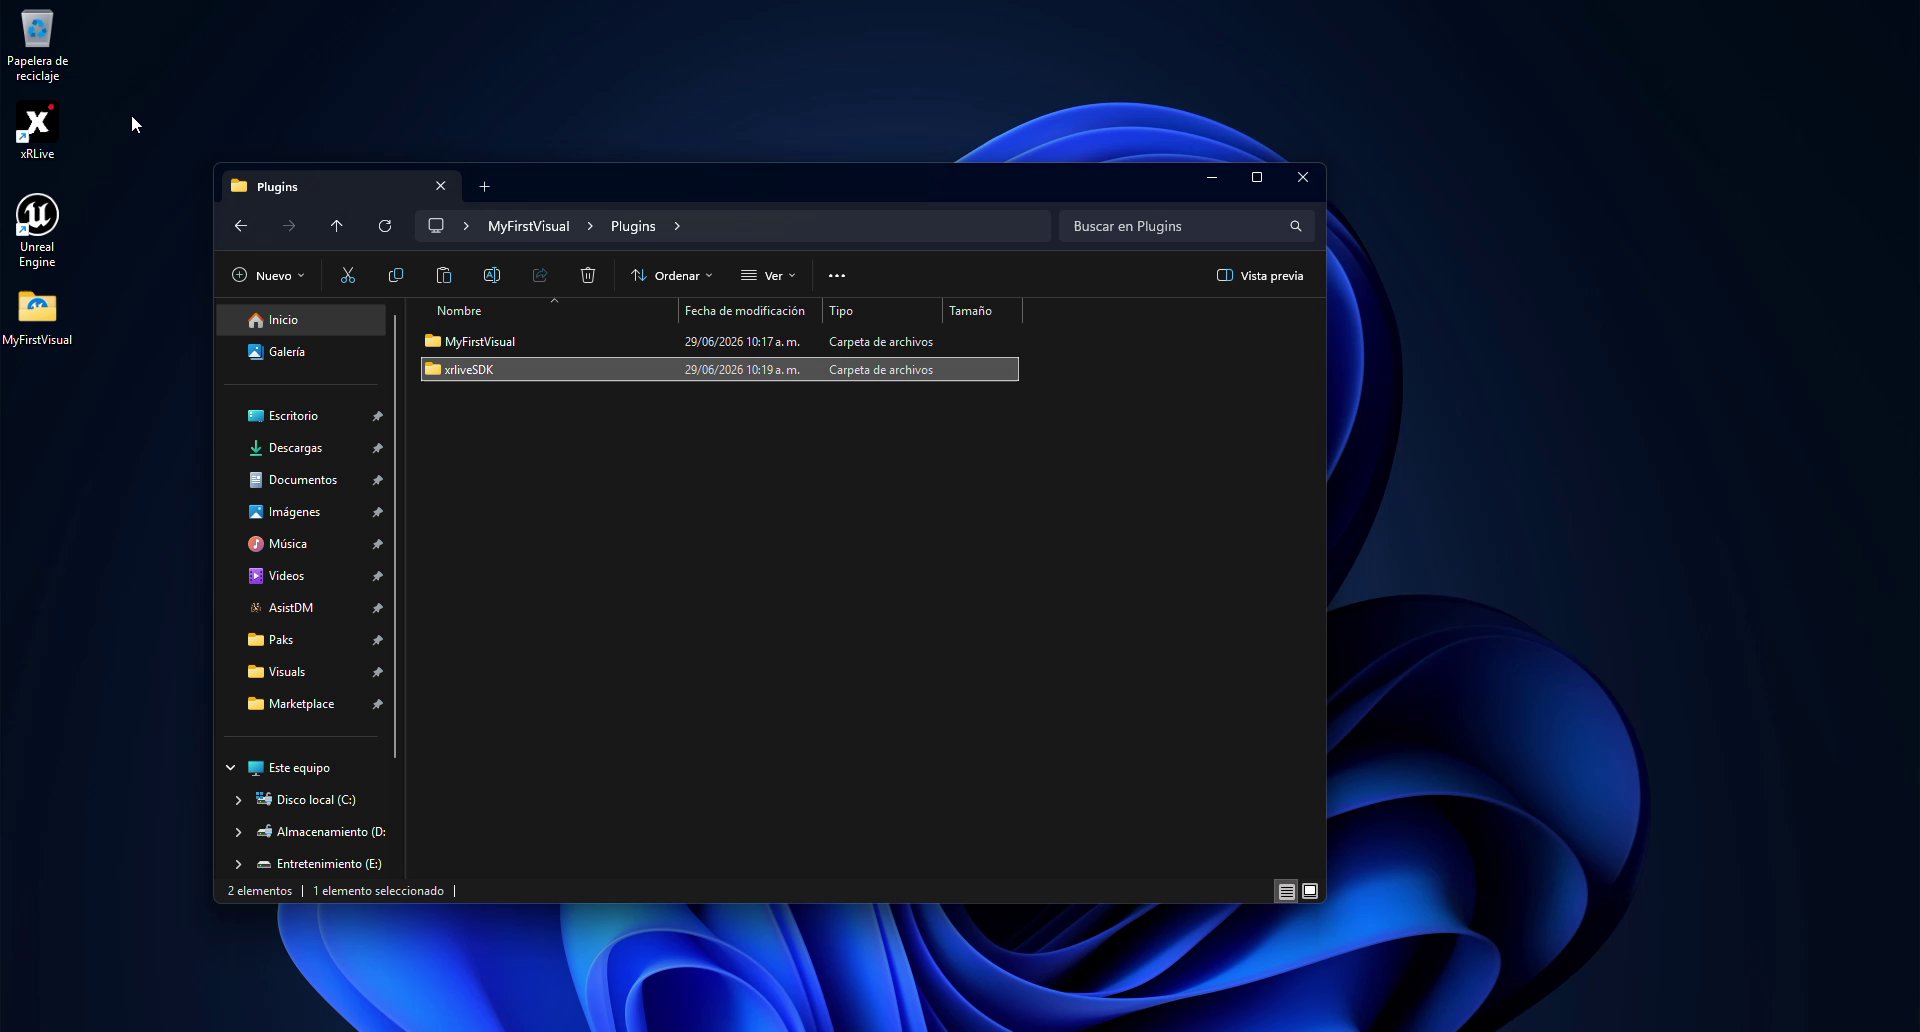
Plugins folder after adding the SDK — MyFirstVisual and xrliveSDK side by side
.uproject file. Unreal Engine will detect the new plugin and load it alongside your visual’s plugin.
What you have now
At the end of this step your project has:- A Blank UE project named
MyFirstVisual - A map saved in the root Content folder (required by the packaging pipeline)
- A Content Only plugin named
MyFirstVisualwithBlueprints,Map, andUIfolders - The main map
MyFirstVisualsaved inside the plugin’sMapfolder - The
xrliveSDKplugin present in the project’sPluginsfolder
BP_Settings actor, add a mesh component, and configure the xRLive UI panel.
Plugin & Scene Setup →
Create BP_Settings, add the Cube component, and configure the xrlive_UIpanel.