The xRLive operator dashboard with a visual running
Operator dashboard layout
1 — Visual selector
The left panel lists all visuals in your library. Click any visual to see its details — thumbnail, name, description, and version. Click Open to load it.2 — Viewport preview
The center of the dashboard shows a scaled preview of the game window. It stays in sync with the live output and scales to maintain the correct aspect ratio as you resize the dashboard.3 — Control panel
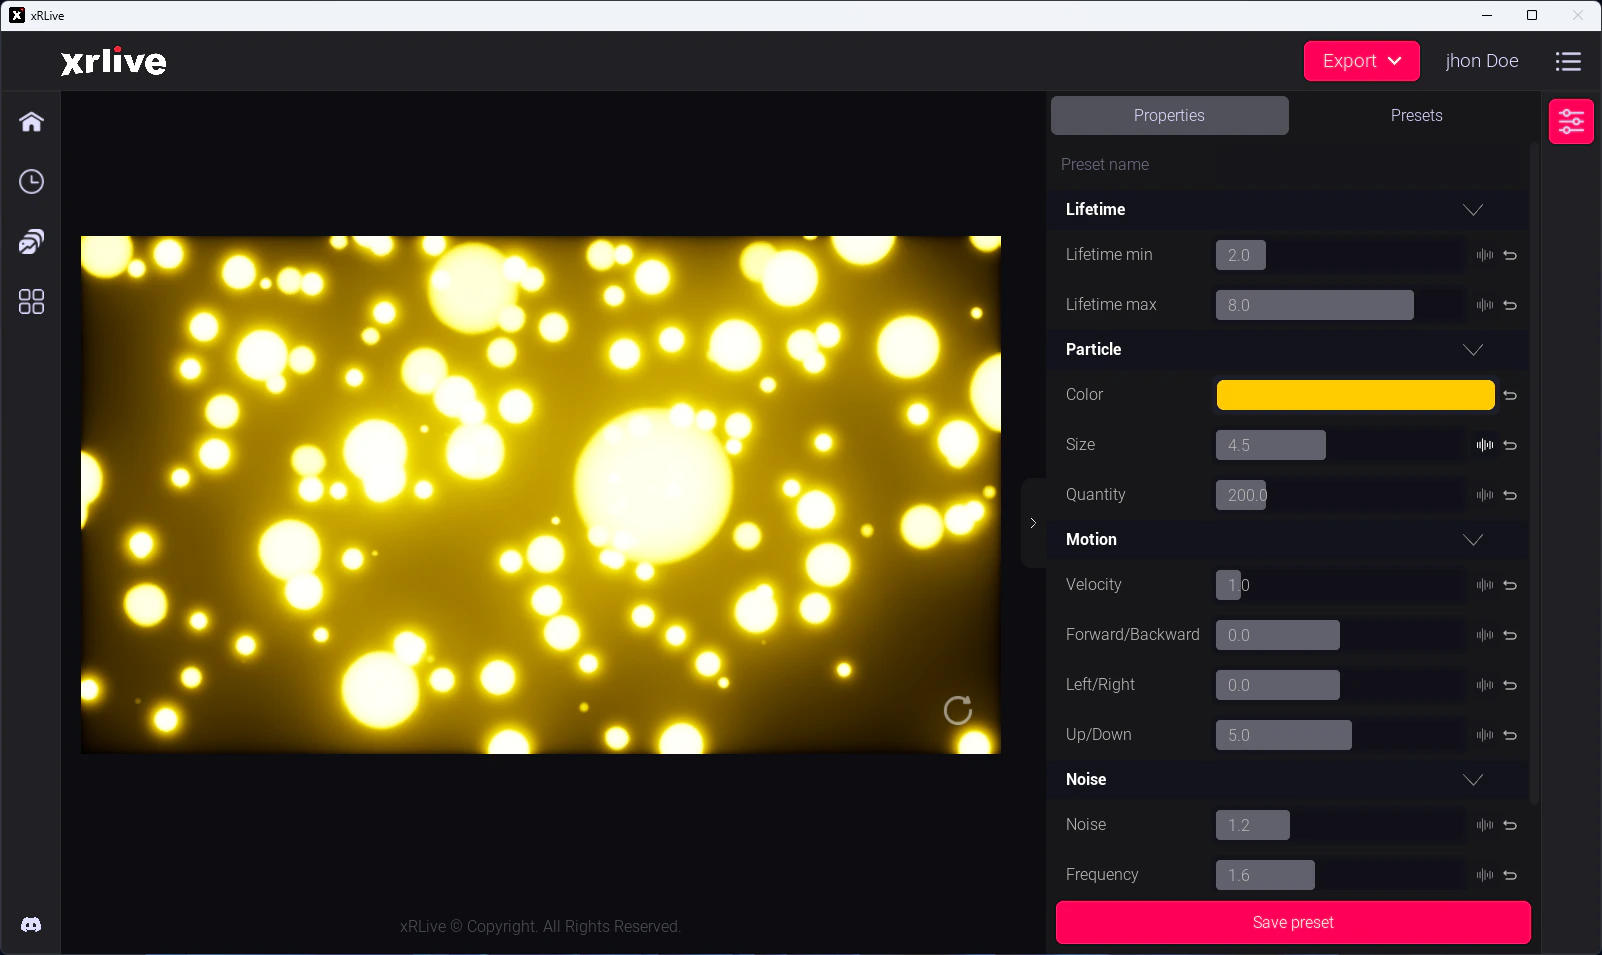
The right panel shows the operator controls exposed by the running visual. Controls vary per visual but can include:- Sliders — adjust float values (intensity, speed, blur, etc.)
- Buttons — trigger one-shot events
- Checkboxes — toggle features on/off
- Dropdowns — switch between named options
- Color pickers — change colors live
- Text inputs — send text into the visual
4 — Preset bar
Above or below the control panel (depending on your layout) is the preset bar. It shows saved presets for the active visual and lets you save, load, and delete them.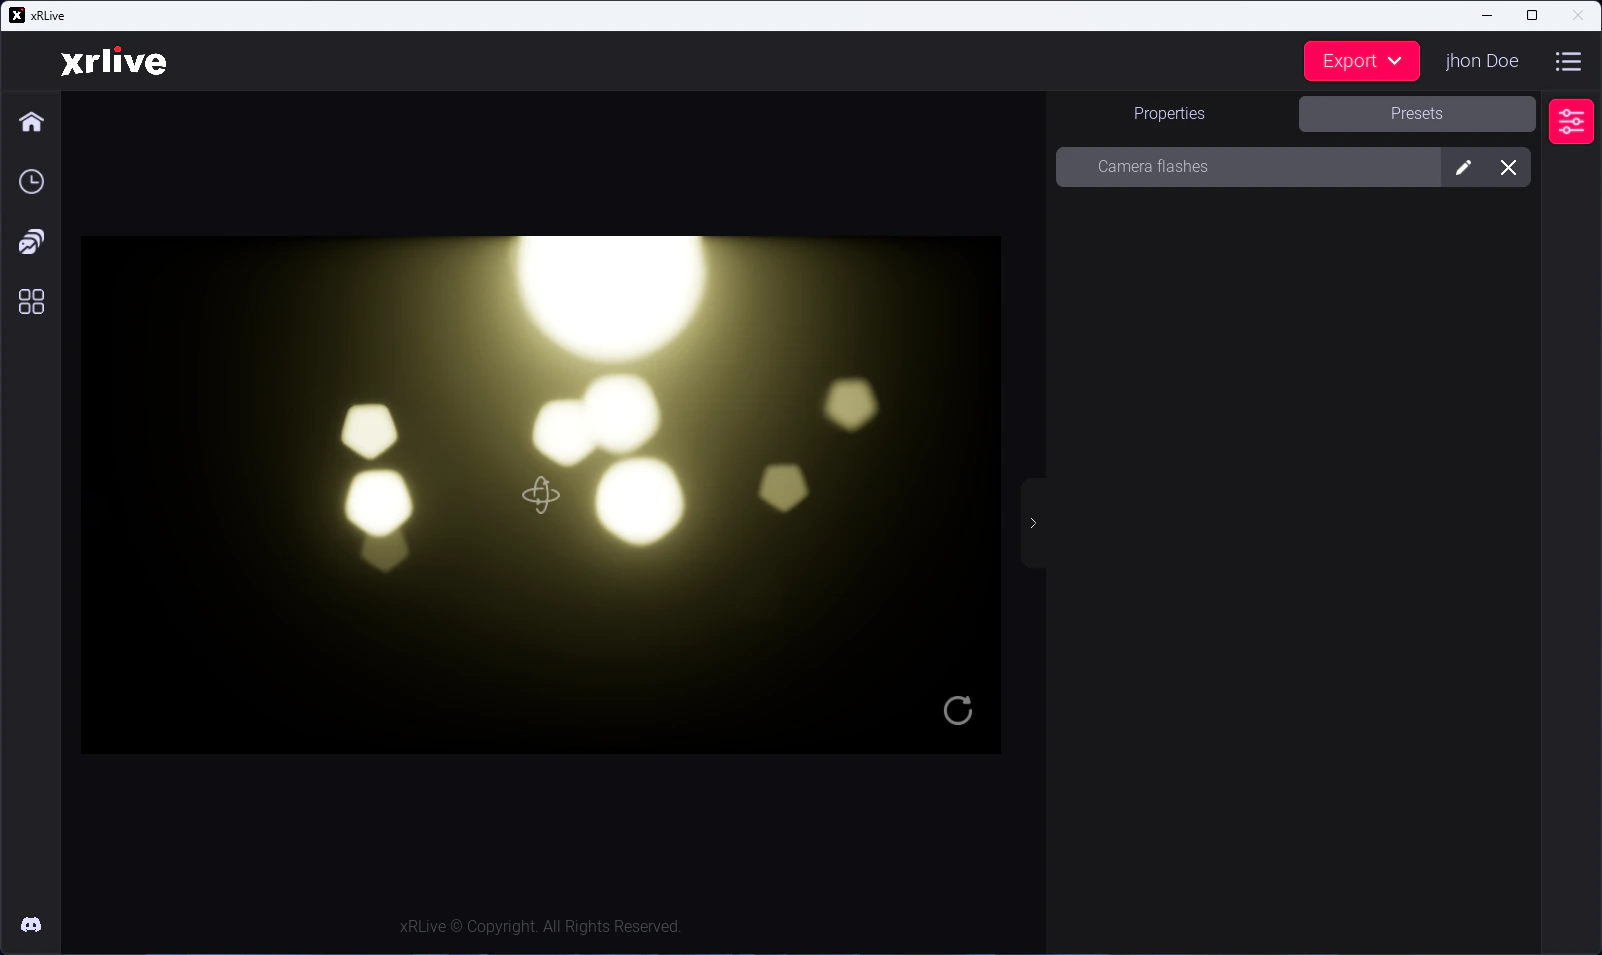
The preset bar in the operator dashboard
Game window
The game window renders the visual output. In a live show, this is the window you route to your stage display — LED wall, projector, or broadcast capture card.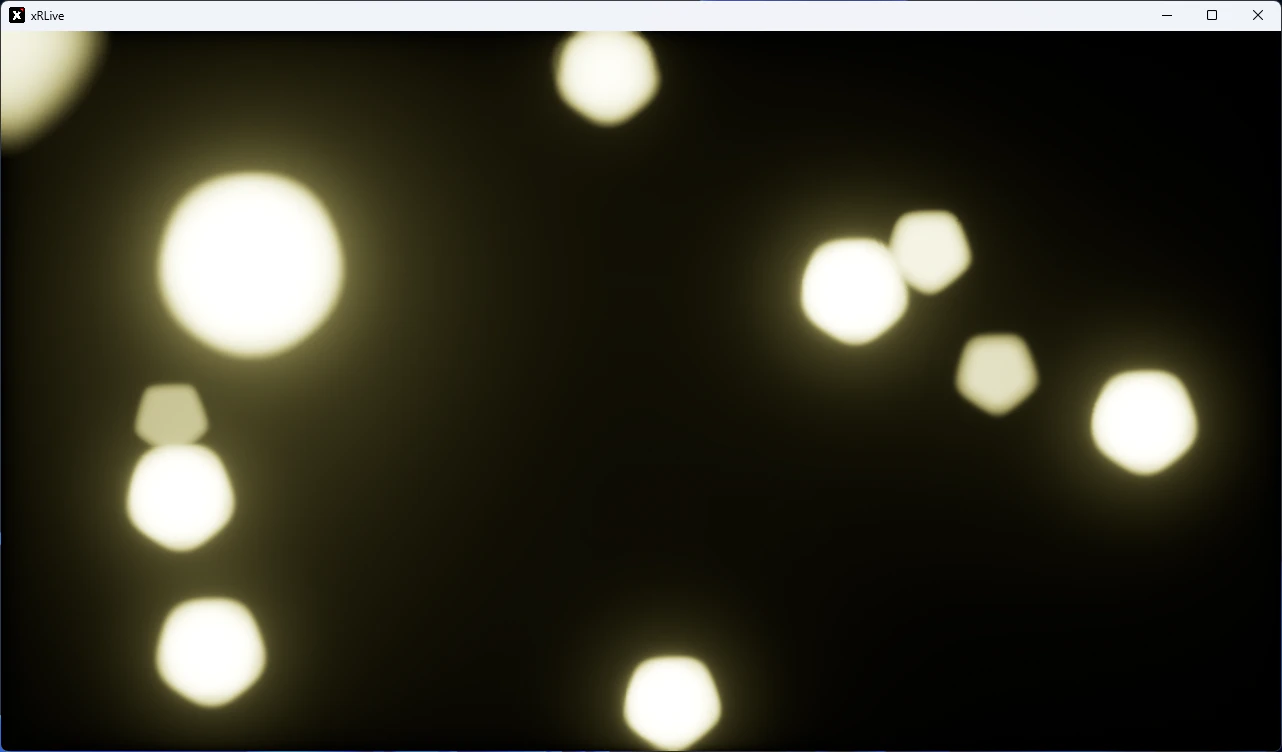
The xRLive game window showing a running visual