> ## Documentation Index
> Fetch the complete documentation index at: https://xrlive.mintlify.site/llms.txt
> Use this file to discover all available pages before exploring further.
# Quick Start
> Go from zero to running your first visual in 10 minutes
This guide takes you from a blank slate to a live visual running on your machine. You'll need about 10 minutes and an internet connection.
## Before you start
* A Windows or Mac computer that meets the [system requirements](/launcher/install/system-requirements)
* An xRLive account — [sign up free](https://dashboard.xrlive.app/signup)
***
## Step 1 — Create your account
Go to [dashboard.xrlive.app/signup](https://dashboard.xrlive.app/signup) and create an account using your email address or Google.
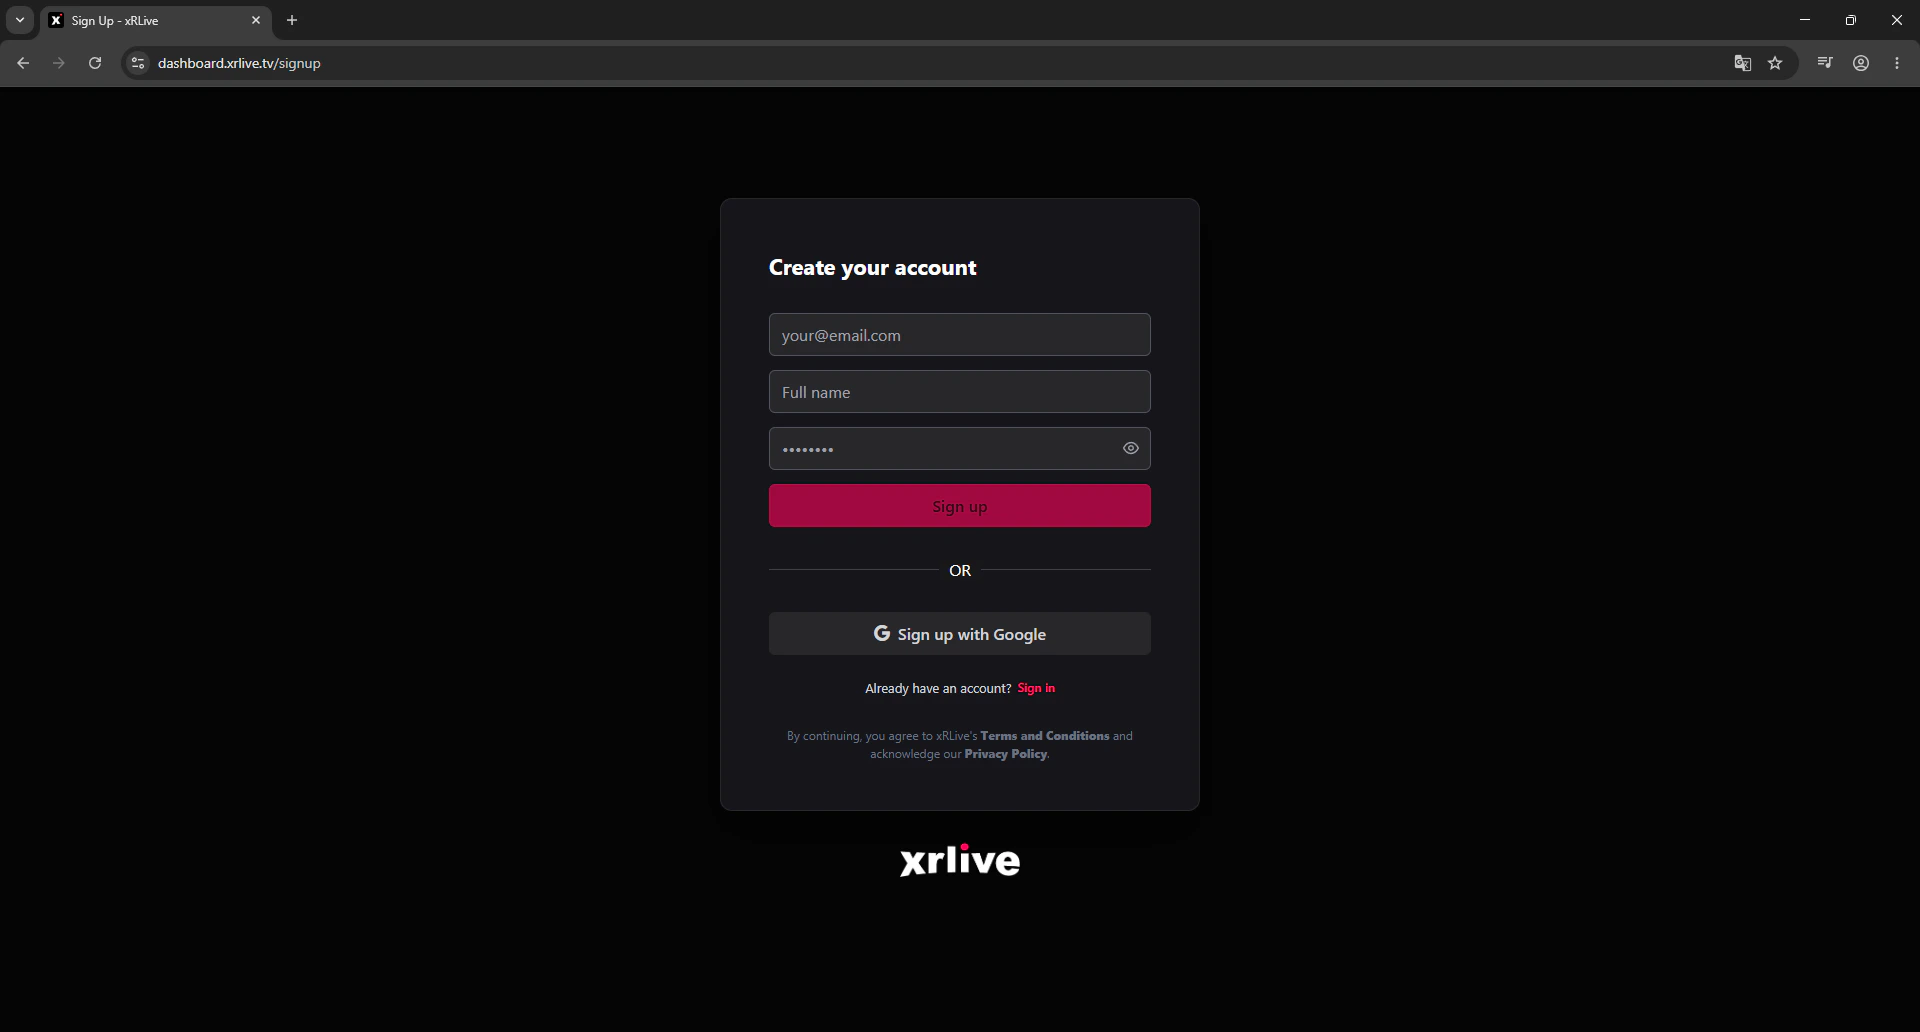 A **free account** lets you try xRLive and access the dashboard. To run premium visuals from the Marketplace you'll need a **PRO** or **CREATOR** subscription. See [Plans & Subscriptions](/overview/subscriptions) for a full comparison.
***
## Step 2 — Download and install the Launcher
In the dashboard, go to **Downloads** and grab the installer for your platform.
1. Download the Windows installer (`.exe`) from the dashboard.
2. Run the installer and follow the prompts.
3. Launch **xRLive** from your Start Menu or desktop shortcut.
→ [Full Windows install guide](/launcher/install/windows)
1. Download the Mac package (`.dmg`) from the dashboard.
2. Open the `.dmg`, drag xRLive to your Applications folder.
3. On first launch, macOS may ask to confirm you want to open it — click **Open**.
→ [Full Mac install guide](/launcher/install/mac)
***
## Step 3 — Get a visual
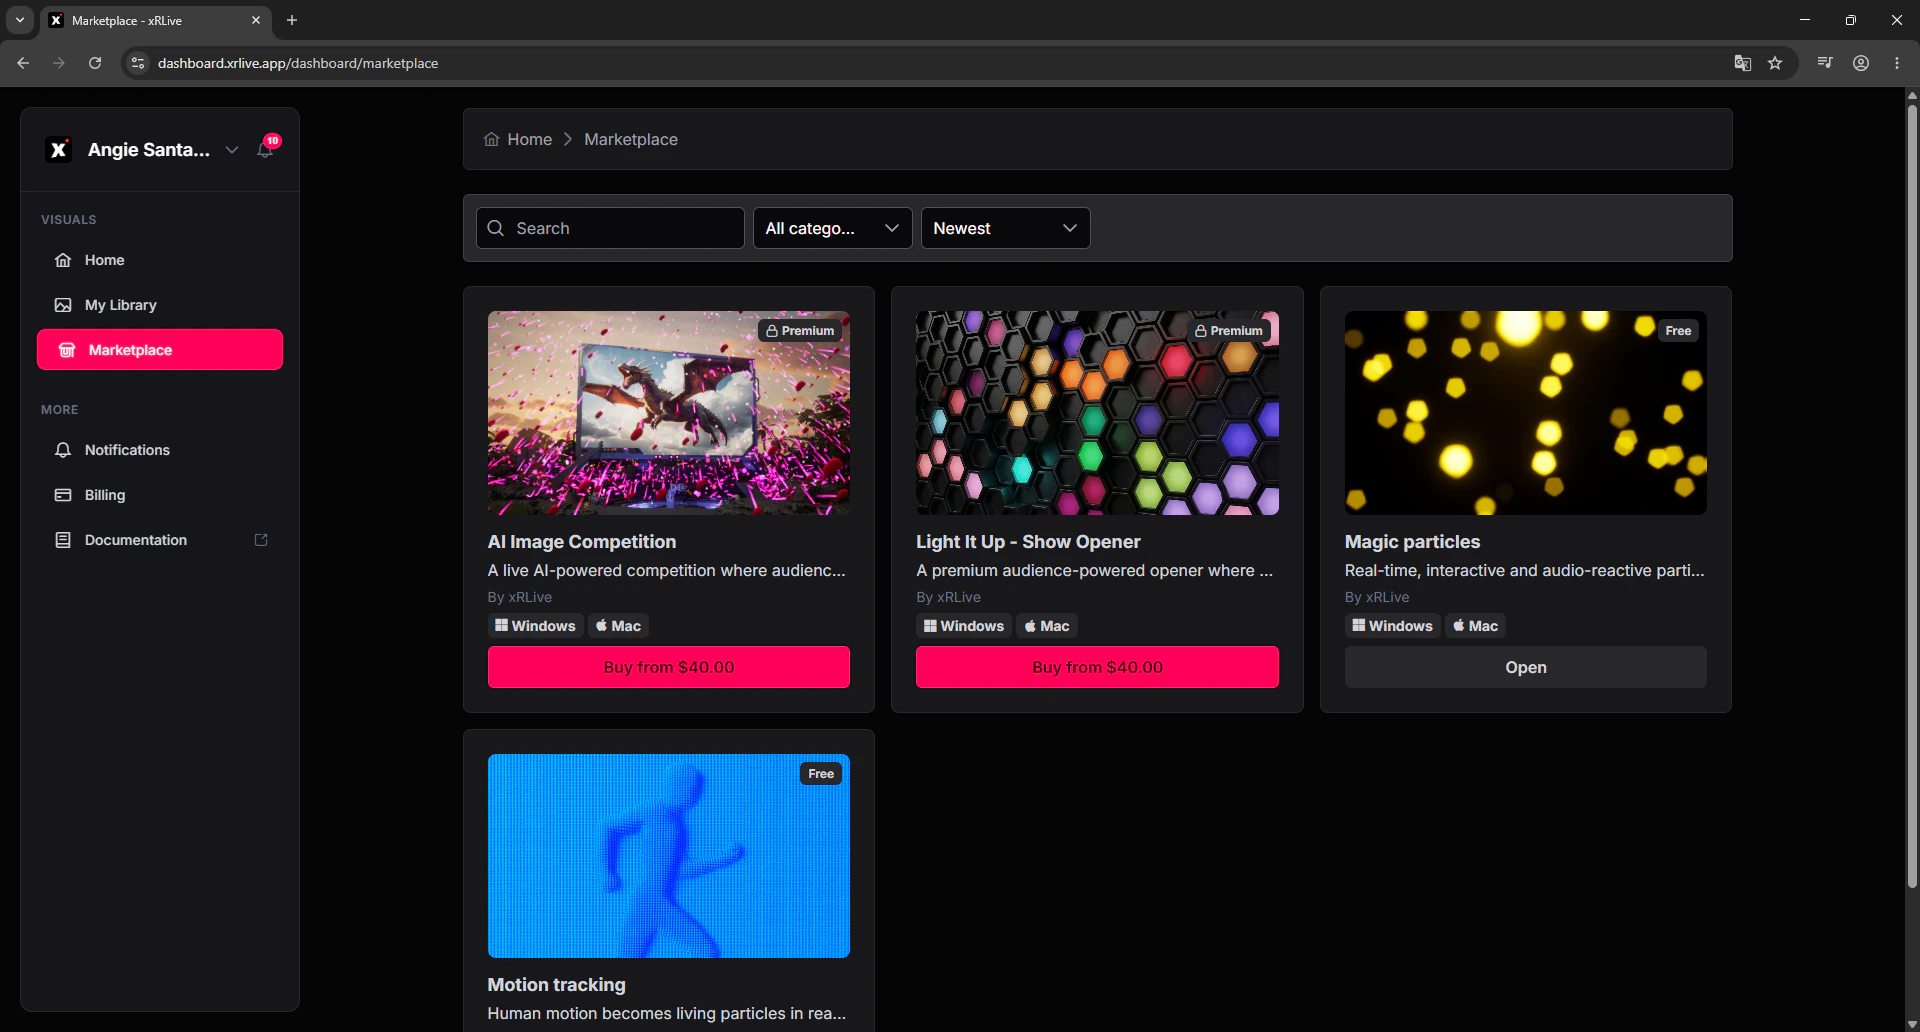
Open the [Marketplace](https://dashboard.xrlive.app/dashboard/marketplace) in the dashboard and find a visual you'd like to run. Click **Get** or **Buy**, and the visual will appear in your library.
A **free account** lets you try xRLive and access the dashboard. To run premium visuals from the Marketplace you'll need a **PRO** or **CREATOR** subscription. See [Plans & Subscriptions](/overview/subscriptions) for a full comparison.
***
## Step 2 — Download and install the Launcher
In the dashboard, go to **Downloads** and grab the installer for your platform.
1. Download the Windows installer (`.exe`) from the dashboard.
2. Run the installer and follow the prompts.
3. Launch **xRLive** from your Start Menu or desktop shortcut.
→ [Full Windows install guide](/launcher/install/windows)
1. Download the Mac package (`.dmg`) from the dashboard.
2. Open the `.dmg`, drag xRLive to your Applications folder.
3. On first launch, macOS may ask to confirm you want to open it — click **Open**.
→ [Full Mac install guide](/launcher/install/mac)
***
## Step 3 — Get a visual
Open the [Marketplace](https://dashboard.xrlive.app/dashboard/marketplace) in the dashboard and find a visual you'd like to run. Click **Get** or **Buy**, and the visual will appear in your library.
 ***
## Step 4 — Open and run the visual
1. In the xRLive Launcher, your library is visible on the main screen.
2. Find the visual you downloaded and click **Open**.
3. The game window launches and begins rendering.
4. The operator dashboard appears alongside it — use the controls to adjust the visual in real time.
***
## What's next
Learn how to use sliders, buttons, color pickers, and more.
Save your control values and recall them instantly during a show.
Set the game window to fullscreen and route it to your stage output.
Let your audience join the show from their phones.
***
## Step 4 — Open and run the visual
1. In the xRLive Launcher, your library is visible on the main screen.
2. Find the visual you downloaded and click **Open**.
3. The game window launches and begins rendering.
4. The operator dashboard appears alongside it — use the controls to adjust the visual in real time.
***
## What's next
Learn how to use sliders, buttons, color pickers, and more.
Save your control values and recall them instantly during a show.
Set the game window to fullscreen and route it to your stage output.
Let your audience join the show from their phones.