> ## Documentation Index
> Fetch the complete documentation index at: https://xrlive.mintlify.site/llms.txt
> Use this file to discover all available pages before exploring further.
# QR Code & Joining
> Let your audience join a session from their phone
Every audience-enabled experience starts the same way: a QR code on the game window. Your audience scans it with their phone and lands on the experience's web page, where they can take part. One code works for the whole room.
## The QR code is generated for you
When you start an audience-enabled experience, the visual builds its QR code and displays it on the game window — usually next to the title and a countdown. You don't create it, paste it, or point it anywhere; the visual handles all of that.
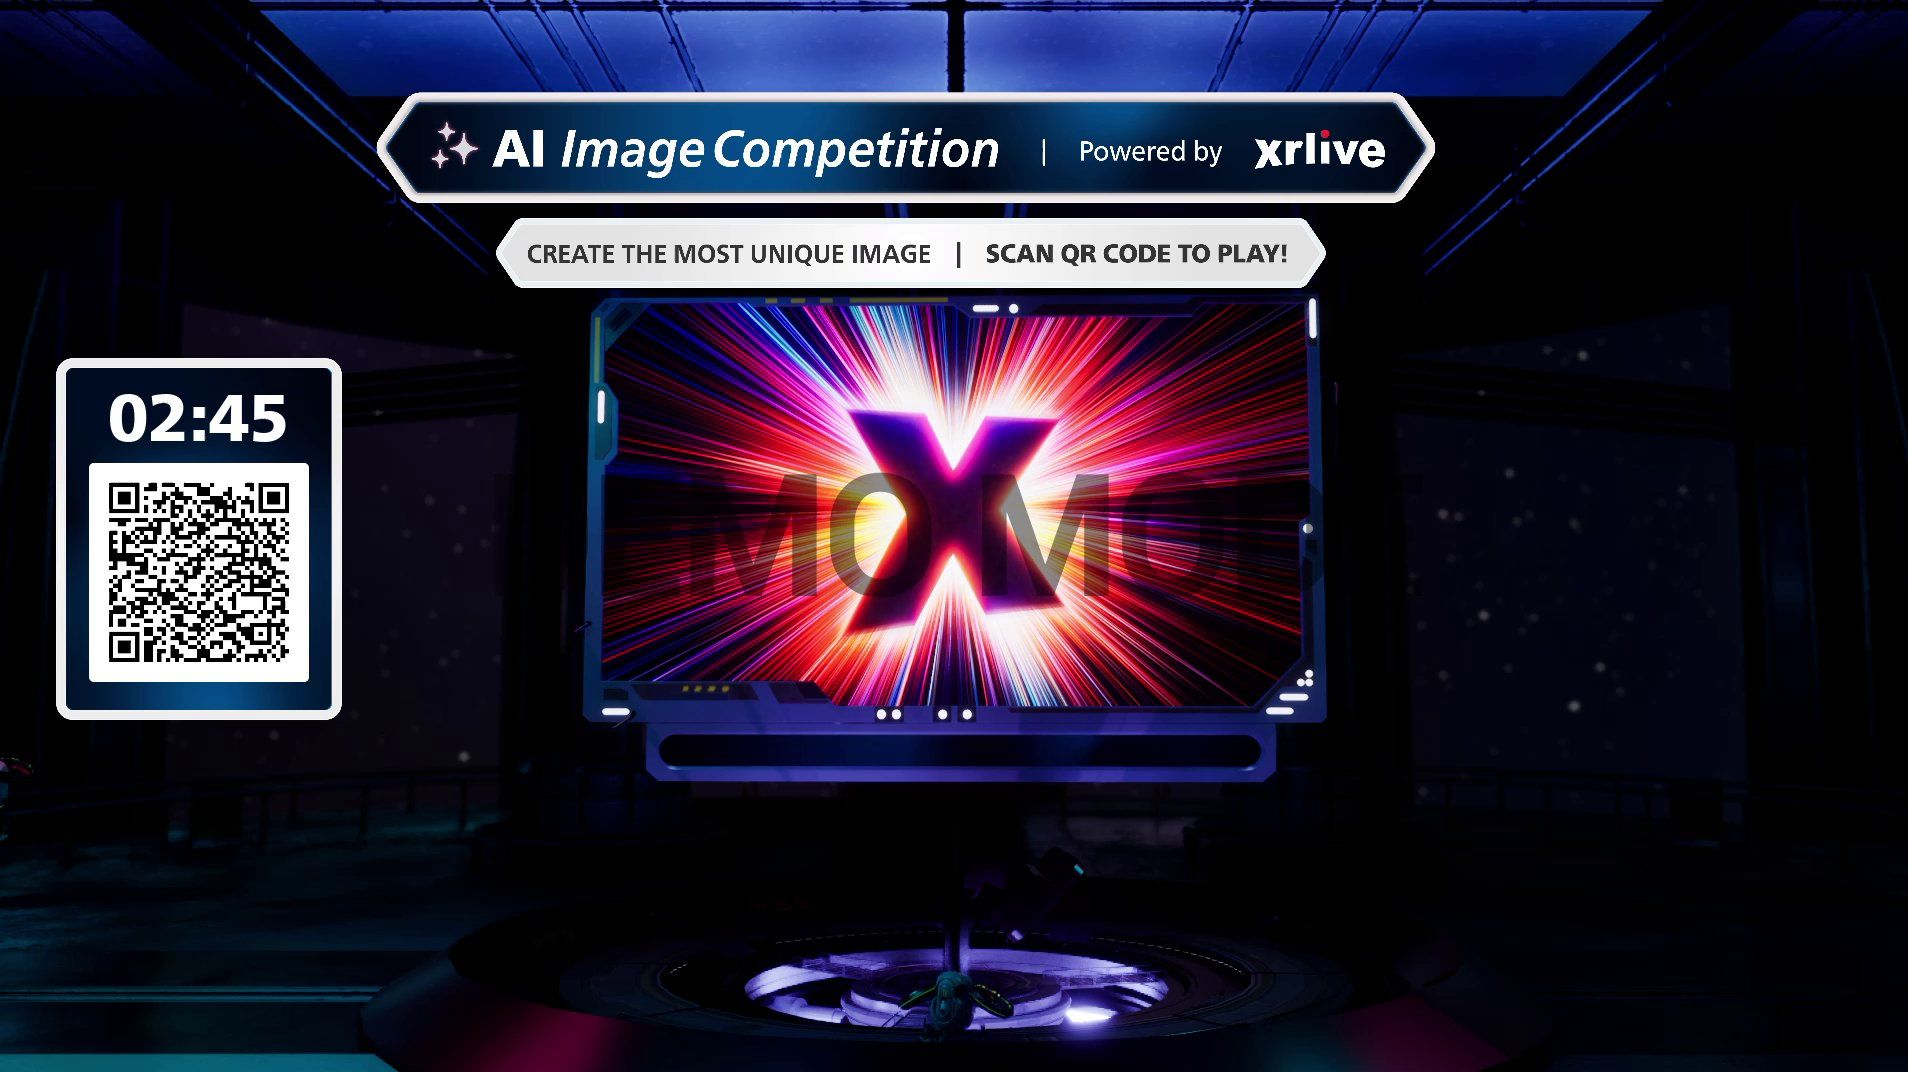 Because the code is built into the running experience, there's nothing to set up beforehand. Start the experience and the QR code is ready to scan.
## How the audience joins
Each person points their phone camera at the QR code on the game window. Most phones recognize it automatically and offer to open the link.
Tapping the link opens the experience's audience page in the phone's browser — no app to download.
Depending on the experience, the audience either enters a few quick details or jumps straight in. See the variations below.
Once they're in, the audience can do whatever the visual offers — react, vote, or contribute — and it shows up live on stage.
## Onboarding varies by experience
How much an audience member does before they're "in" depends on the visual.
Because the code is built into the running experience, there's nothing to set up beforehand. Start the experience and the QR code is ready to scan.
## How the audience joins
Each person points their phone camera at the QR code on the game window. Most phones recognize it automatically and offer to open the link.
Tapping the link opens the experience's audience page in the phone's browser — no app to download.
Depending on the experience, the audience either enters a few quick details or jumps straight in. See the variations below.
Once they're in, the audience can do whatever the visual offers — react, vote, or contribute — and it shows up live on stage.
## Onboarding varies by experience
How much an audience member does before they're "in" depends on the visual.
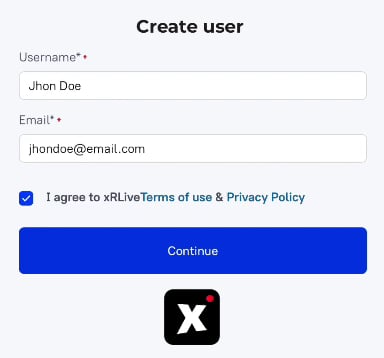
 * **Quick profile** — experiences like the AI Image Contest ask for a name and email and to agree to the terms, so entries can be attributed to a person.
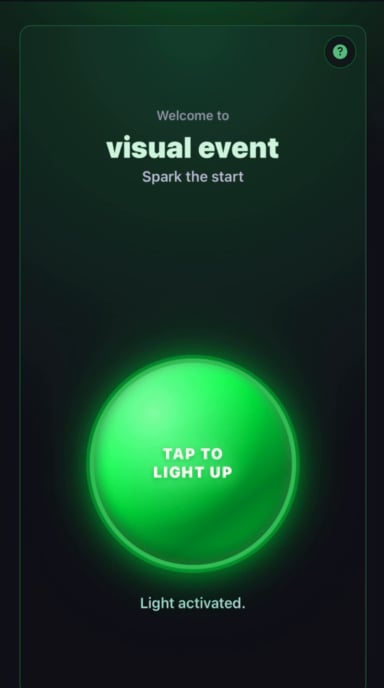
* **Straight in** — experiences like Light it up skip the form and put the audience right on the action screen.
## Tips for a smooth join
Keep the QR code large and visible on stage, and leave it up for a moment after the experience starts so latecomers can still scan in.
* Make sure the venue has phone signal or Wi-Fi — the audience page loads over the internet.
* The same code works for everyone, so the whole room can scan it at the same time.
## Where to go next
What the audience can actually do once they're in — reactions, votes, polls, and more.
See the join flow in context inside a full competitive experience.
* **Quick profile** — experiences like the AI Image Contest ask for a name and email and to agree to the terms, so entries can be attributed to a person.
* **Straight in** — experiences like Light it up skip the form and put the audience right on the action screen.
## Tips for a smooth join
Keep the QR code large and visible on stage, and leave it up for a moment after the experience starts so latecomers can still scan in.
* Make sure the venue has phone signal or Wi-Fi — the audience page loads over the internet.
* The same code works for everyone, so the whole room can scan it at the same time.
## Where to go next
What the audience can actually do once they're in — reactions, votes, polls, and more.
See the join flow in context inside a full competitive experience.